Forms
Forms lets you collect structured responses from people in your workspace and, when published, from people using the form link. Build questions yourself or start with Ration's assisted drafting path.
Navigate Forms
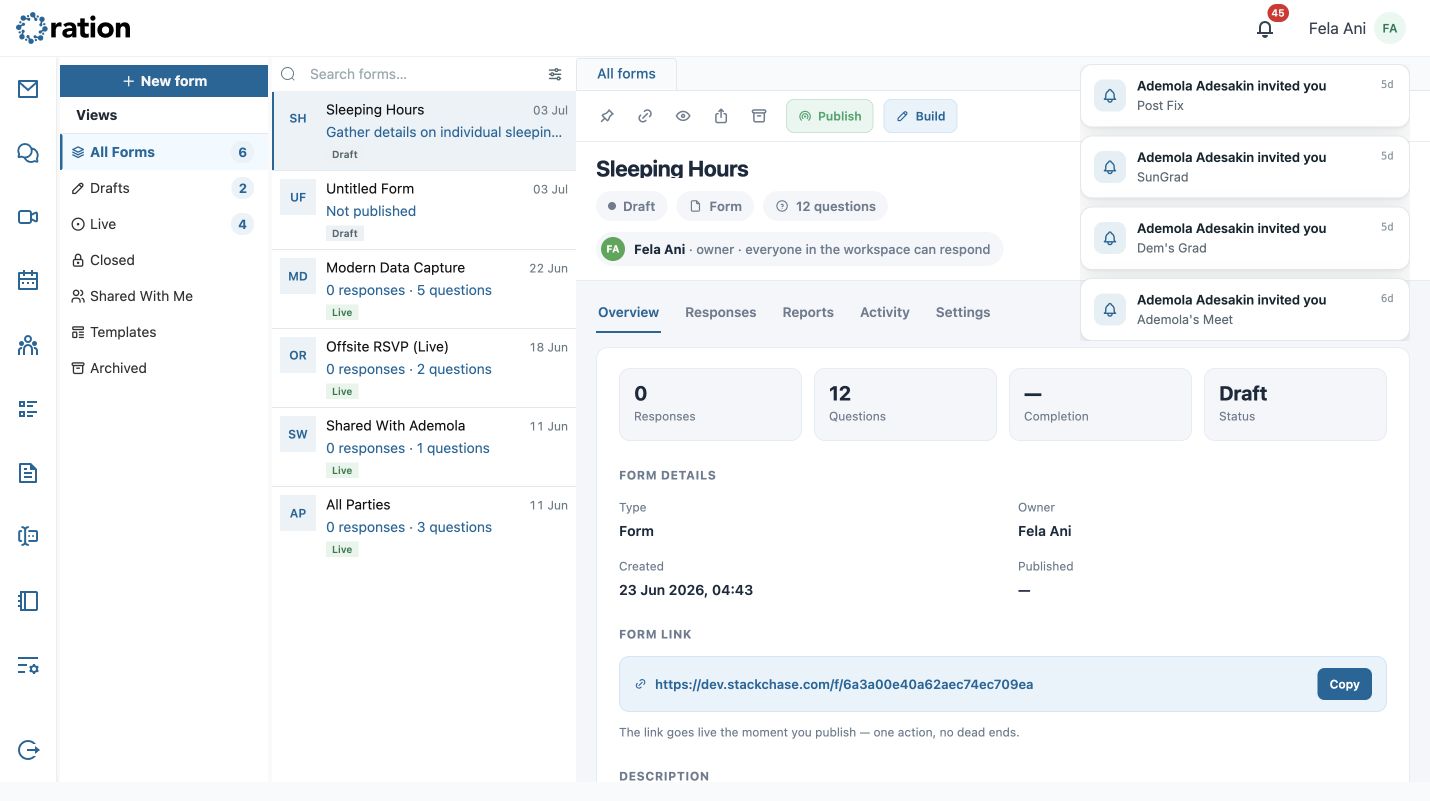
The large-screen workspace has three working areas:
- The left Views sidebar filters the collection: All Forms, Drafts, Live, Closed, Shared With Me, Templates, and Archived.
- The centre list shows each form's initials, title, last activity date, description, publication state, response count, and question count.
- The right pane opens the selected form. Use its Overview, Responses, Reports, Activity, and Settings tabs to manage its lifecycle.
On a form overview, the header also shows its owner, respondent access, current status, response count, question count, completion rate, shareable form link, and question list.
Start a form
Select New form. Ration offers two ways to start.
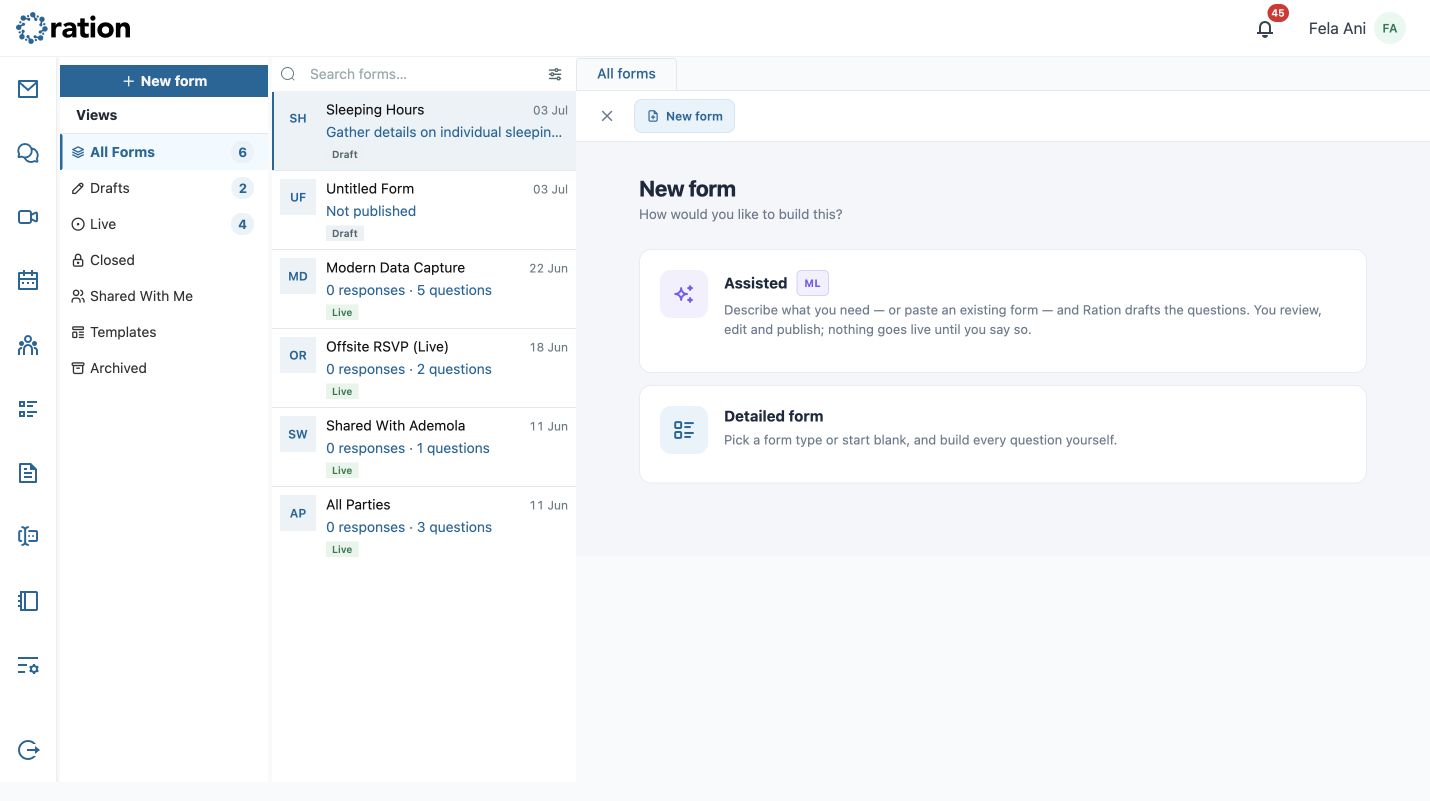
- Assisted lets you describe the form—or paste an existing one—so Ration can draft questions for your review. Nothing is published automatically.
- Detailed form opens the form-type picker, where you choose the mechanics that fit the job.
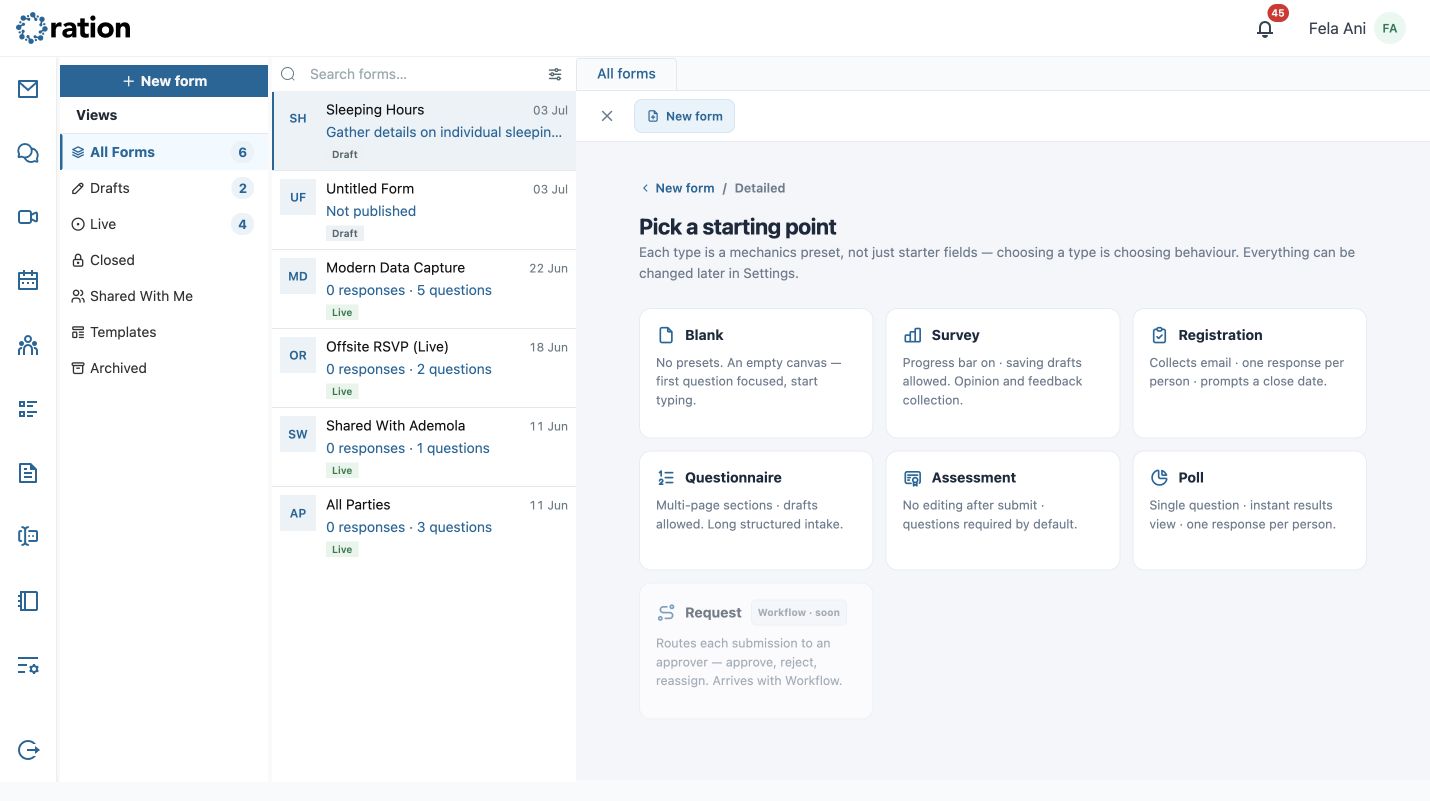
| Starting point | Default behaviour |
|---|---|
| Blank | Empty canvas; begin with the first question. |
| Survey | Progress bar and response drafts enabled. |
| Registration | Collects email, limits people to one response, and prompts for a close date. |
| Questionnaire | Multi-page sections and saved drafts for longer intake. |
| Assessment | Respondents cannot edit after submitting; questions start required. |
| Poll | One question, one response per person, with instant-results view. |
The Request / Workflow option is marked as coming soon and is not part of the current Forms workflow.
Build questions
Choose a form type and open Build. Forms begins as a draft; it is not available to respondents until you publish it.
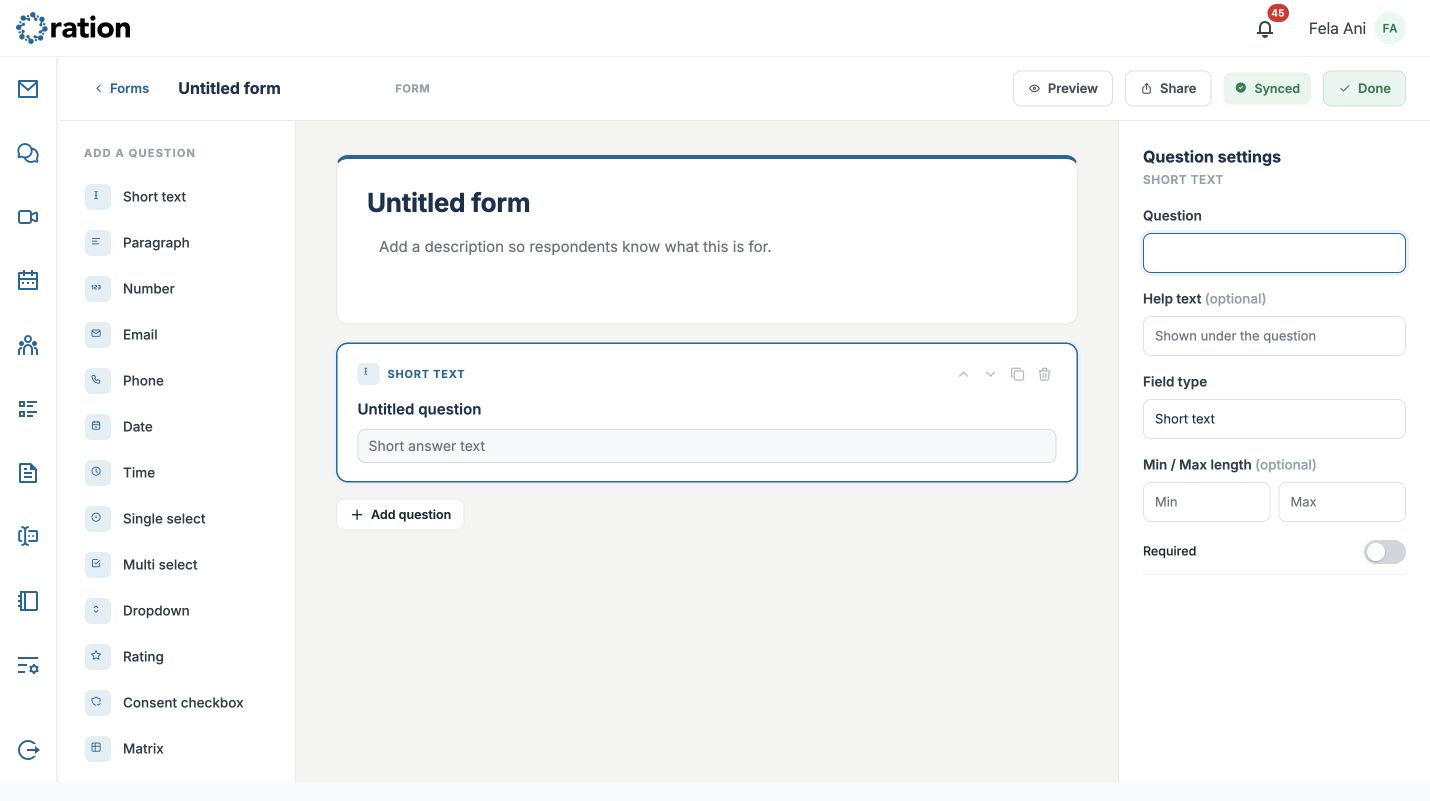
- Set the form title in the header.
- Select a question from Add a question, then write its prompt and optional help text.
- Use Question settings to choose the field type and configure that question. Available types are short text, paragraph, number, email, phone, date, time, single select, multi select, dropdown, rating, consent checkbox, matrix, ranking, and file upload.
- Select Section break to divide a longer form into pages or logical sections.
- Enable Required for any answer a respondent must provide.
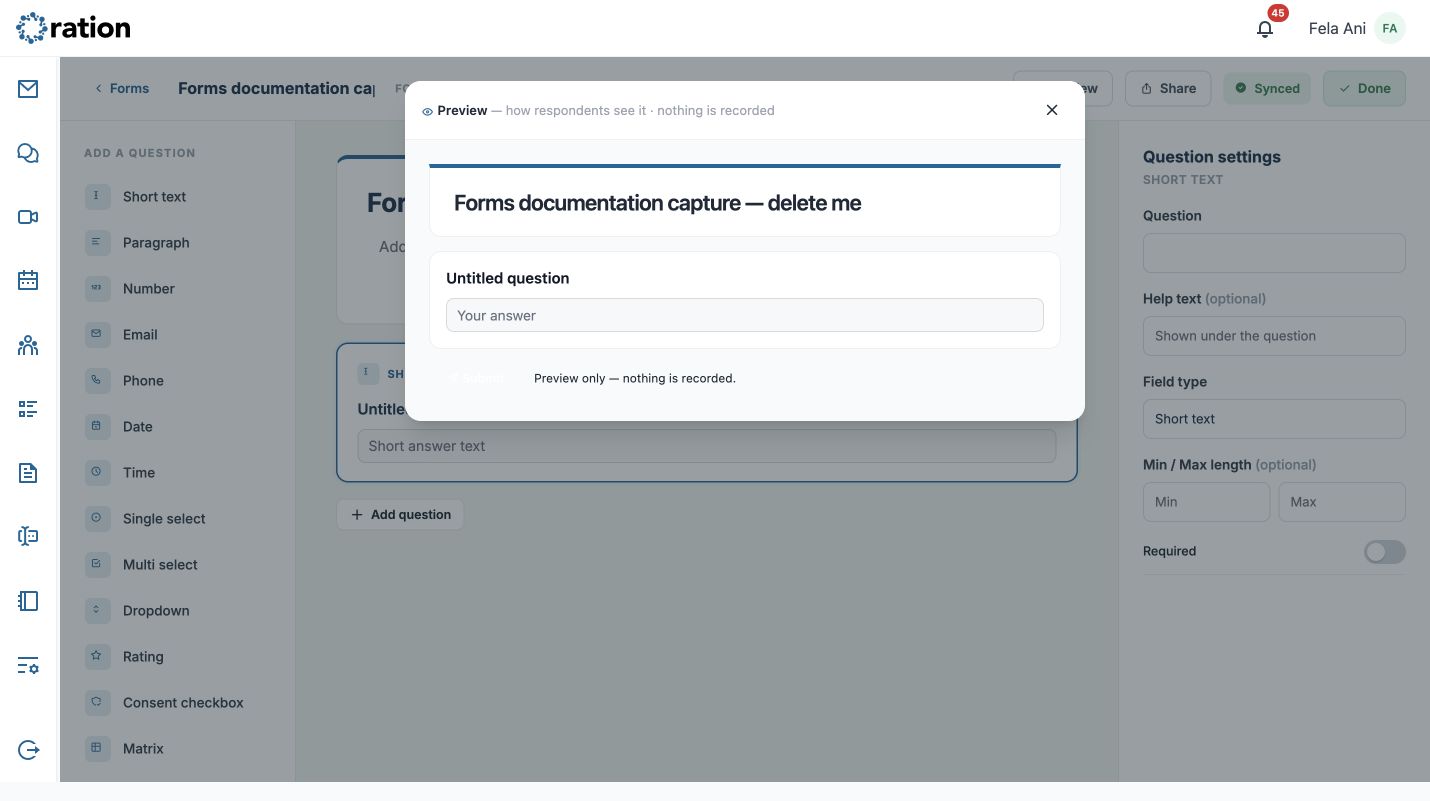
- Use Preview to see the form as a respondent sees it. Preview submissions are not recorded.
- Select Done after changes have synced.
Publish and share a form
Use Publish when the form is ready. Publishing makes the form link live; it does not by itself decide who may submit. The form's sharing settings determine its audience.
Open Build and select Share to choose who can open and respond to the form.
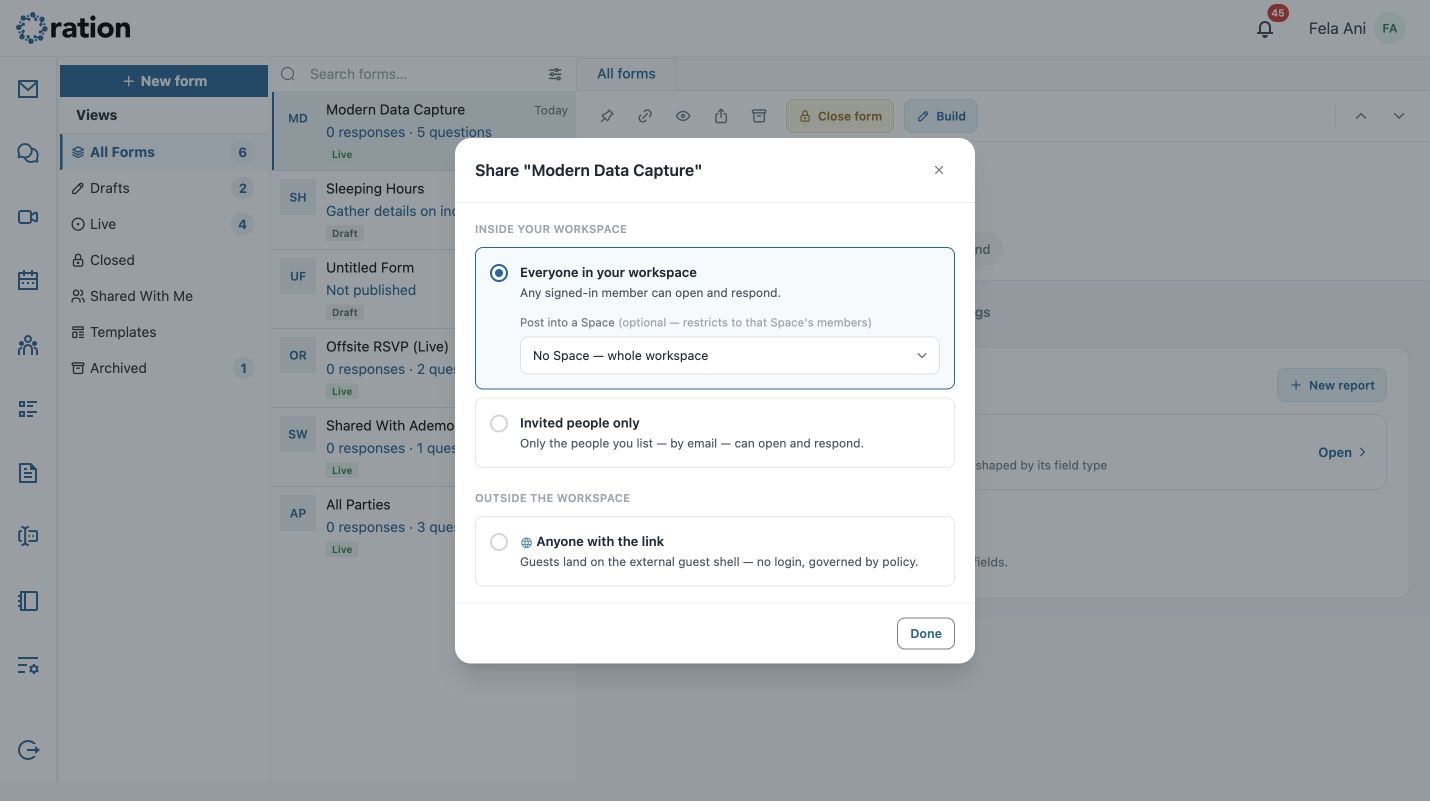
| Sharing choice | Who can respond |
|---|---|
| Everyone in your workspace | Any signed-in workspace member. |
| Post into a Space | Members of the selected Space. This is a workspace-only sharing scope. |
| Invited people only | The people you add by email. |
| Anyone with the link | External guests using the link without signing in, subject to your organisation's policy. |
Select Done to apply the selected sharing scope. On the form overview, select Copy to place the live link on the clipboard. Use the form's share action to distribute it through Ration after confirming that the selected audience is appropriate.
Manage responses
Use the other form tabs as work begins:
| Tab | Purpose |
|---|---|
| Overview | Check status, link, audience, and questions. |
| Responses | Review submitted answers. |
| Reports | Review response and completion reporting. |
| Activity | See form activity. |
| Settings | Control submission behavior, confirmation, schedule, and archiving. |
In Settings, choose what happens after submission (record the response, confirmation message, or redirect), and configure response rules such as one response per person, editing after submission, email collection, progress bars, saved drafts, and an automatic close date. Use Archive form when a form should no longer appear in active views; it remains available in Archived.
Design a custom report
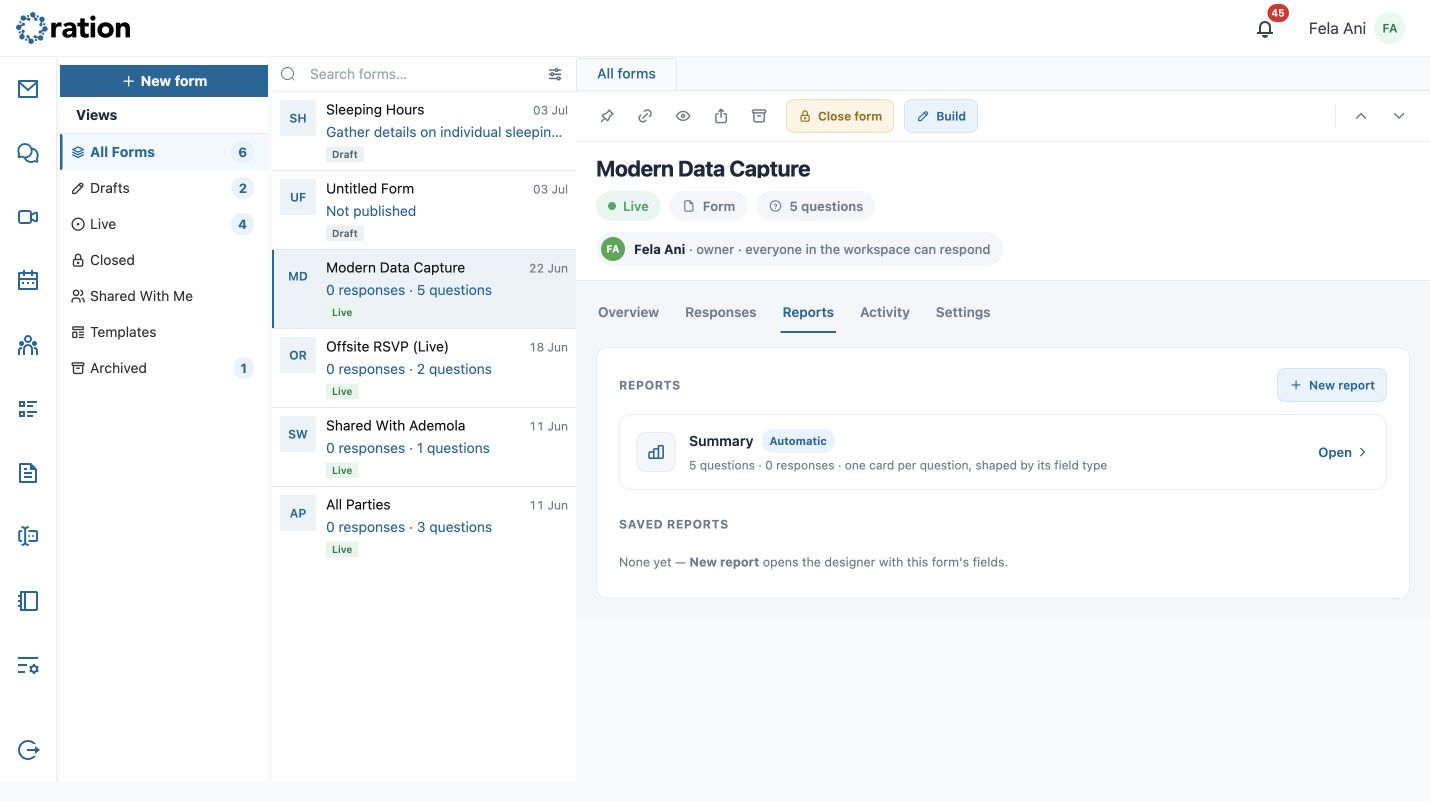
Open a form and select Reports. Every form has an automatic Summary report; select Open to review its question-by-question cards. Select New report to create a saved, custom report from the form's live response data. You can save multiple separate reports for the same form—for example, one for response volume, one for demographics, and another for an operational review.
The designer has three working areas:
- Add a block supplies report cells such as Number, Trend, Seasonality, Distribution, Breakdown, Cross-tab, Co-occurrence, Gauge, Rating / NPS, Open response, Map, and Table. Ration labels blocks that need a compatible form field so you can see what is available before adding one.
- The canvas holds the report cells. Drag cells around the canvas to arrange the view for the audience you are designing for. This changes the report layout, not the responses or the form questions.
- The right-side inspector configures the selected cell. Its available settings depend on the cell: for example, the Seasonality block can choose a date field and measure, while chart cells can be duplicated, removed, or exported as PNG or SVG.
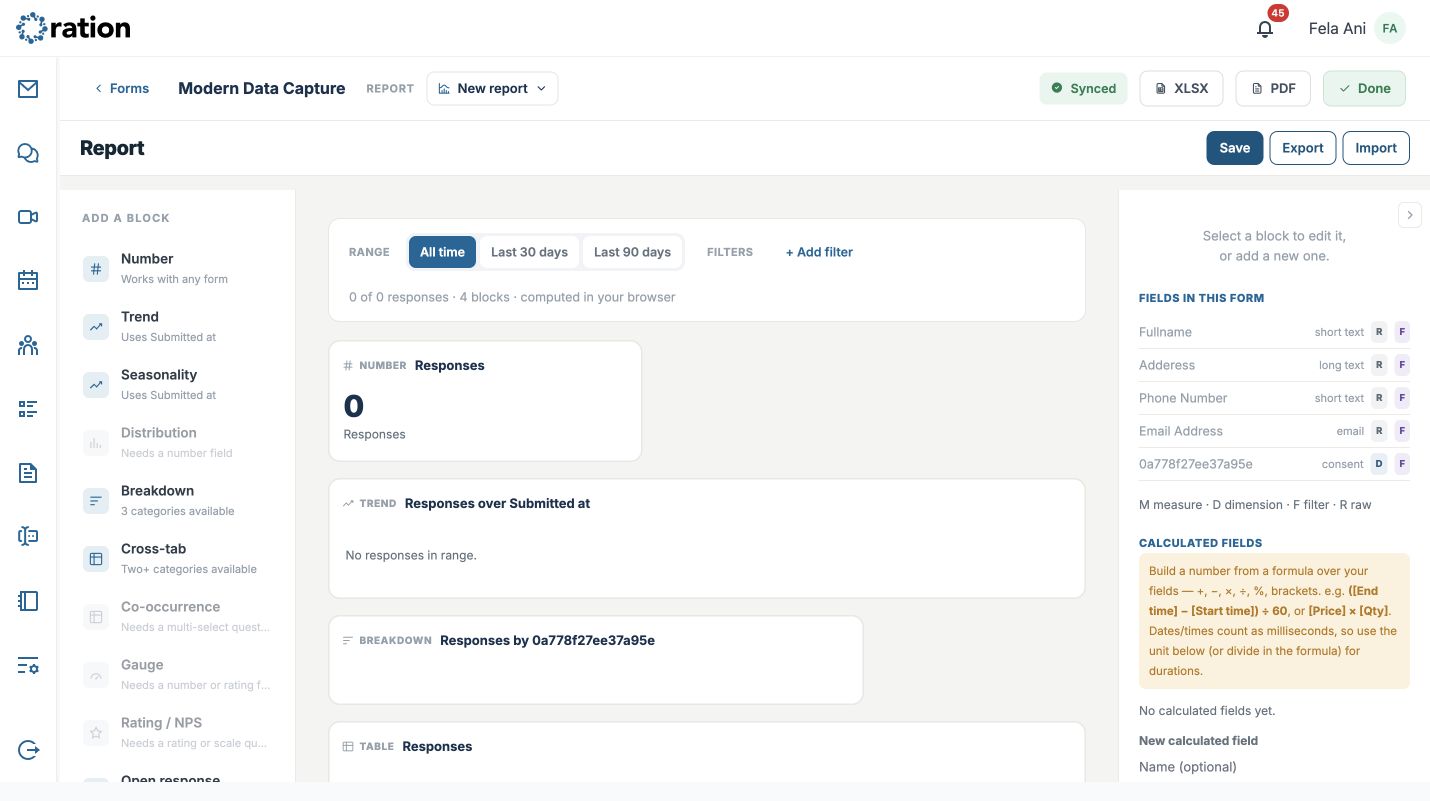
Use Range to limit the report to all time, the last 30 days, or the last 90 days, and use + Add filter to narrow the included responses. The field list identifies which fields can be used as measures, dimensions, filters, or raw values. Create a Calculated field when a number needs to be computed from form fields; formulas support arithmetic, parentheses, and units for date/time durations.
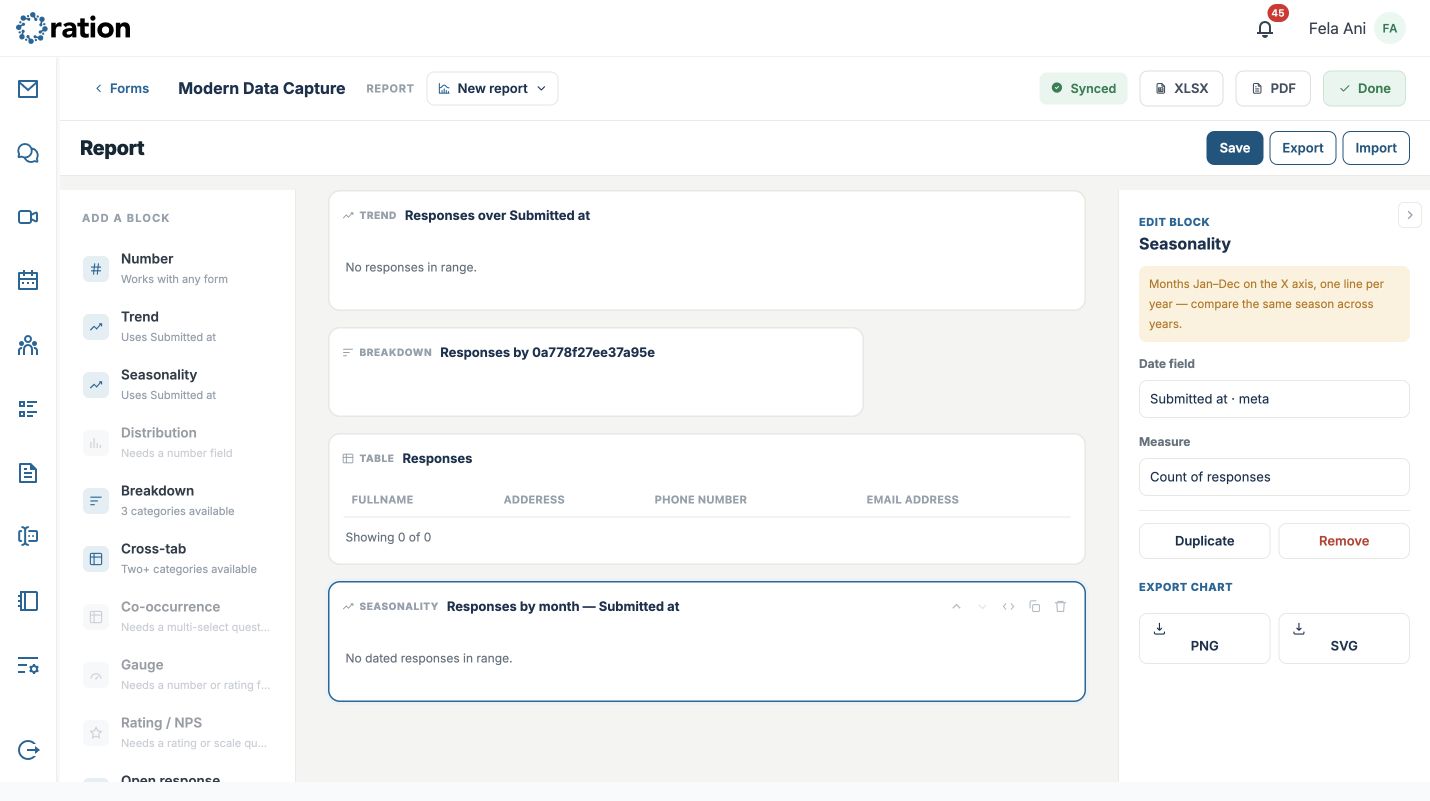
Give the report a clear name and select Save to add it to Saved Reports. Each saved report retains its own cell layout, ranges, filters, calculated fields, and block settings; use New report again whenever you need another view of the same responses. Select Done to return to the form, and use Export or the XLSX and PDF actions to take the finished analysis outside Ration. The designer calculates from the selected form responses in the browser, so a report with no responses will still show its layout but no data points.
Keep a form in Draft while questions, required fields, audience, and settings are being reviewed. Publishing activates its link, so check the respondent experience with Preview first.