Set up Ration on Android or iPhone
Use Exchange, Microsoft Exchange, or Exchange ActiveSync when adding Ration to a phone. This is the recommended mobile setup: one account connects Mail and can also sync Contacts, Calendar, Tasks/Reminders, and Notes to the matching apps on your phone.
Before you begin
Have the following ready:
- Your full Ration email address, such as
name@your-company.example. - Your Ration password.
- An internet connection.
- If two-factor authentication is enabled, your TOTP authenticator and current code.
Setup at a glance
| Setting | Value |
|---|---|
| Account type | Exchange, Microsoft Exchange, or Exchange ActiveSync |
| Email address / username | Your full Ration email address |
| Password | Your Ration password |
| Sign-in choice | Sign In or Next; allow automatic configuration |
| Server, if requested | https://mail.ration.works/Microsoft-Server-ActiveSync |
| Content to sync | Mail, Contacts, Calendar, Tasks/Reminders, and Notes where supported by the device |
After entering your email address and password, choose Sign In, not Set up manually or Configure Manually. Ration’s discovery service supplies the connection details automatically for compatible clients. On-premises and MSP customers should use the ActiveSync server address provided by their administrator if manual setup is required.
Android
Android menu names differ between device makers, but the flow is the same.
-
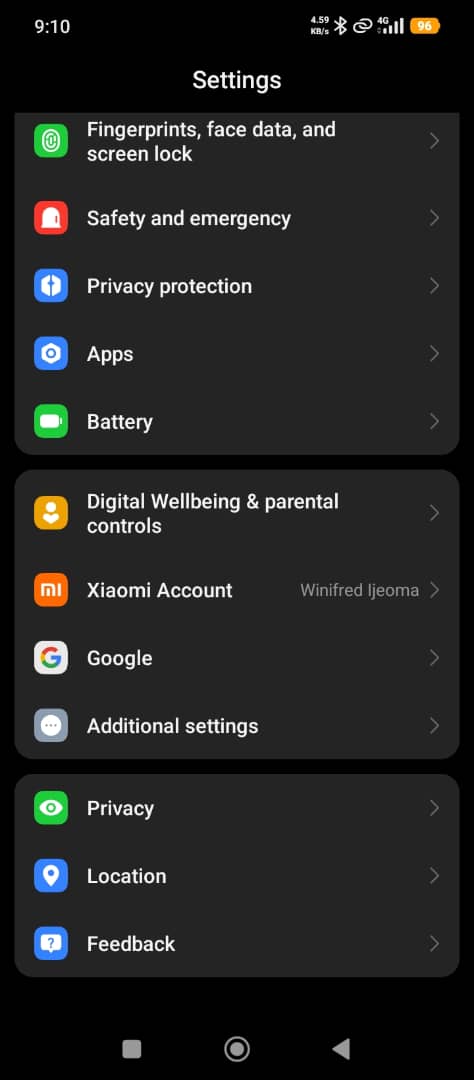
Open Settings.
-
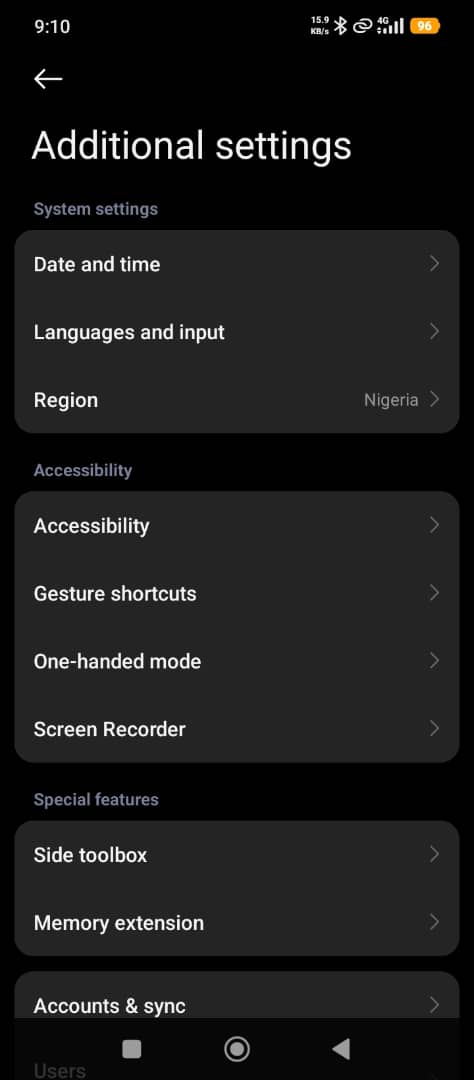
Open Accounts, Accounts & sync, or Users & accounts. On some devices this is inside Additional settings.
-
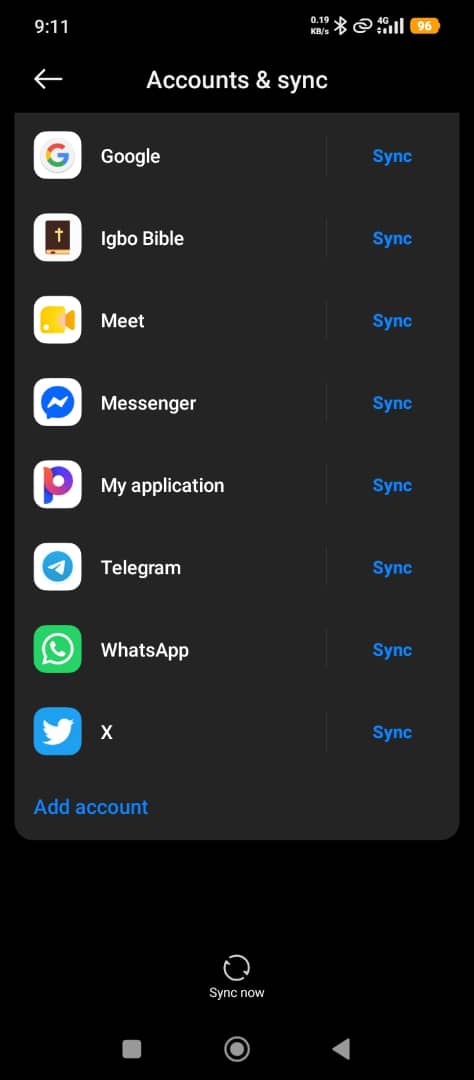
Select Add account.
-
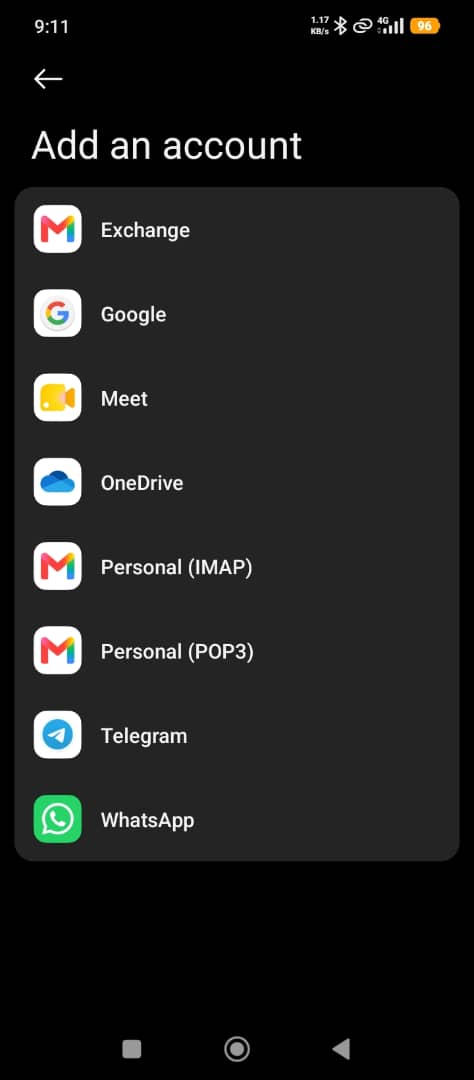
Choose Exchange. It may be labelled Microsoft Exchange, Exchange ActiveSync, or, in Gmail, Exchange and Office 365.
-
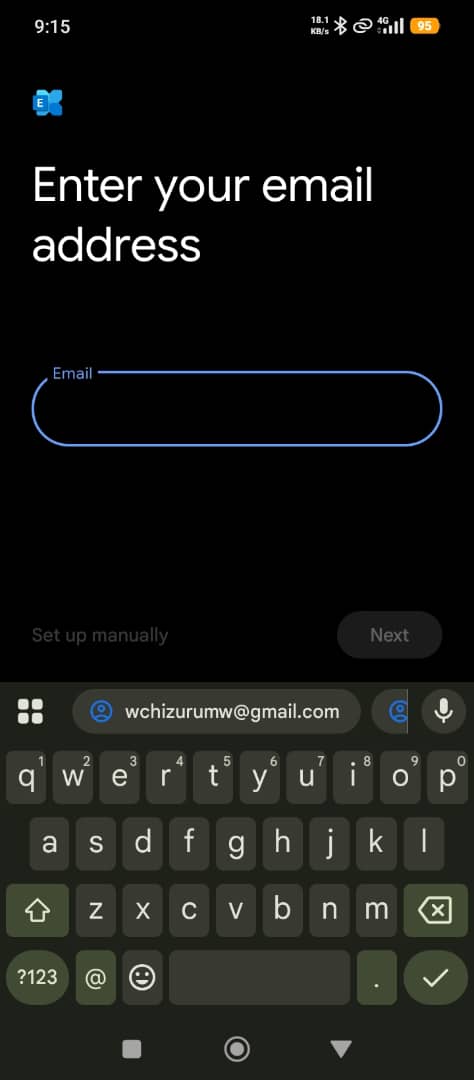
Enter your full Ration email address and select Next.
-
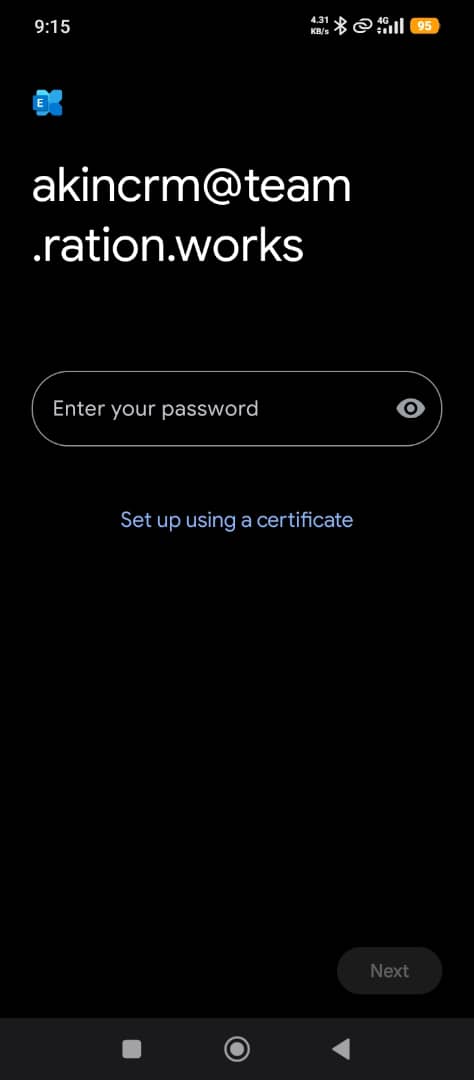
Enter your Ration password, then select Sign In.
-
If prompted, approve the sign-in and choose the data types that should sync.
-
When the account is ready, select Done.
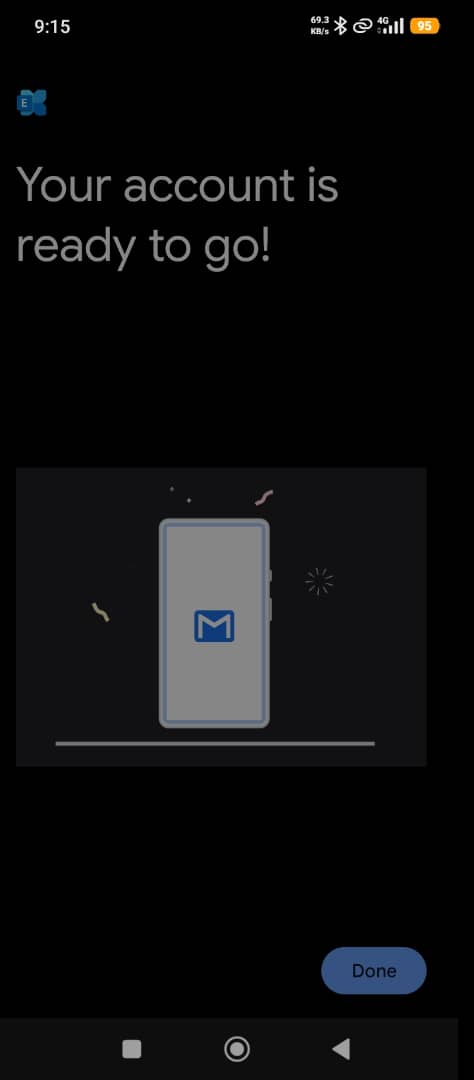
Do not choose Google, Personal (IMAP), or Personal (POP3) when you want integrated contacts and calendar sync. Those account types are mail-only configurations.
Check Android sync
- Open your mail app and select the Ration account.
- Send yourself a test message and confirm that it arrives.
- Confirm that mail folders appear. The first sync can take several minutes for a large mailbox.
- If enabled, open Contacts and Calendar to confirm that Ration data is visible.
iPhone
-
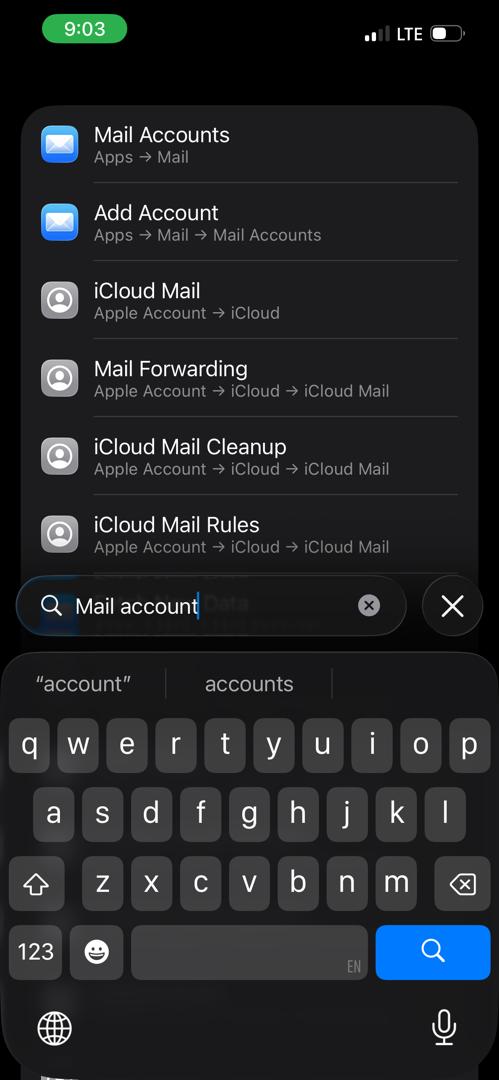
Open Settings and search for Mail Accounts, or open Settings → Apps → Mail → Mail Accounts → Add Account.
-
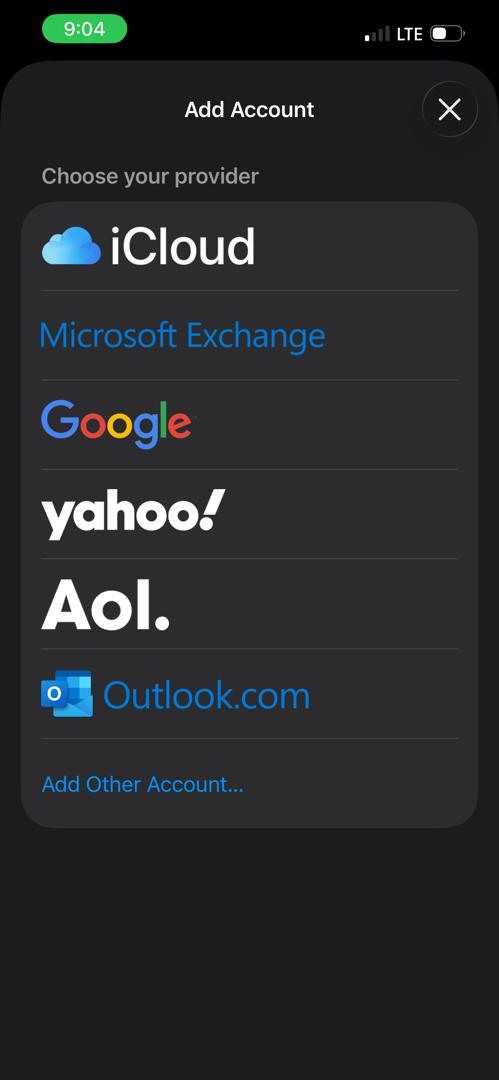
Select Microsoft Exchange.
-
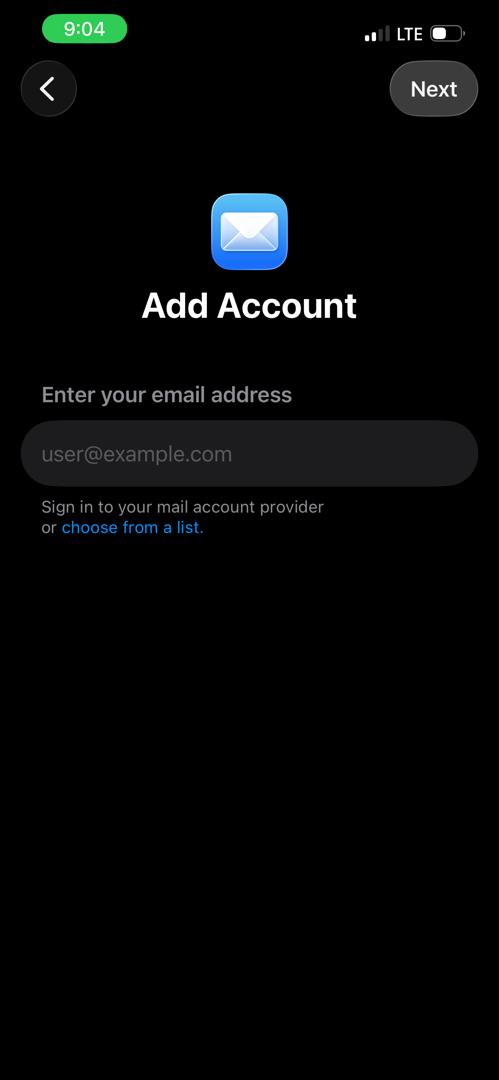
Enter your full Ration email address and select Next.
-
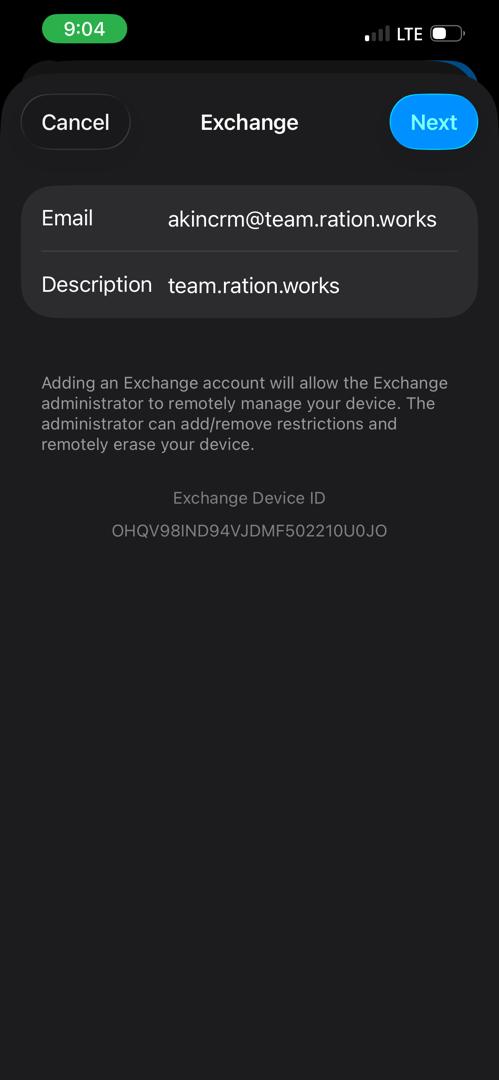
Optionally set a description such as Ration Work Email.
-
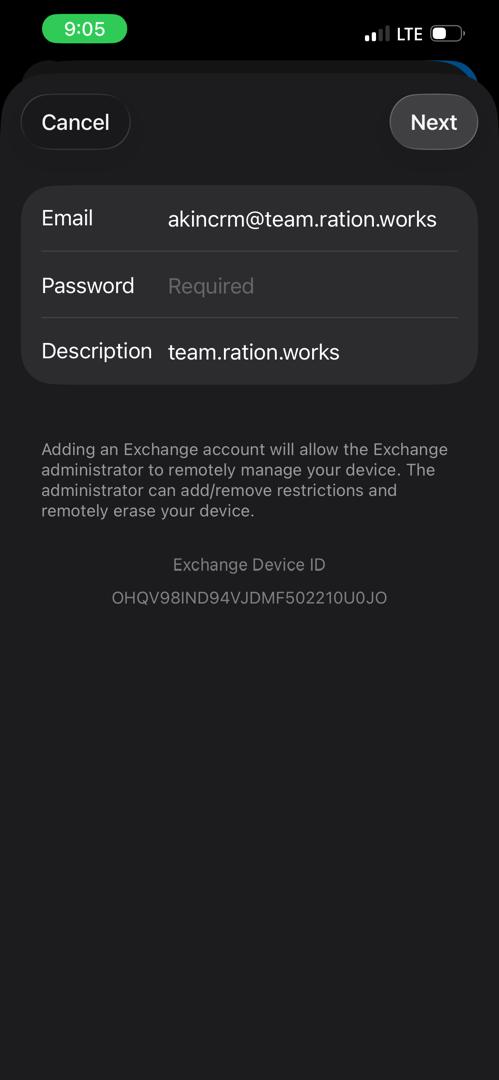
Enter your Ration password and select Sign In.
-
Do not select Configure Manually unless your administrator specifically instructs you to do so.
-
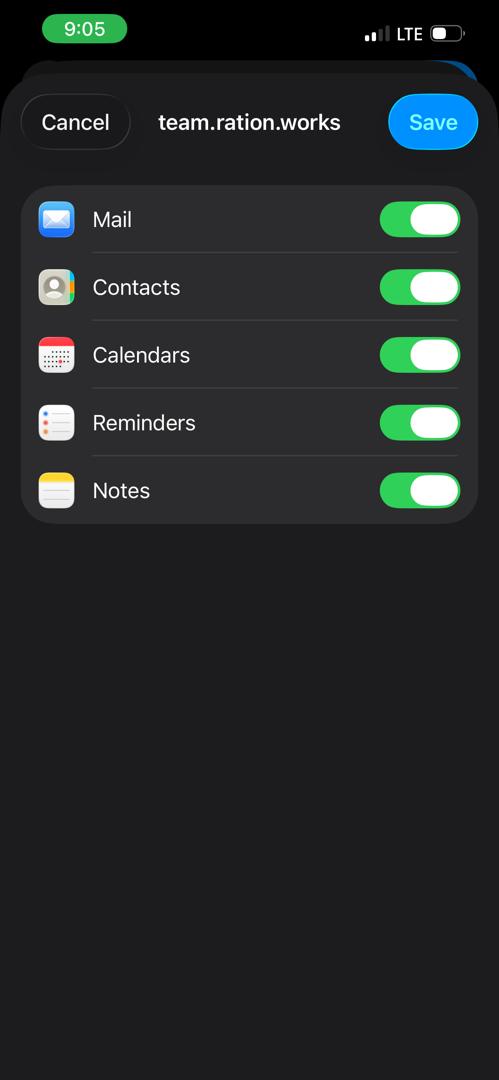
Select the information to sync: keep Mail enabled and, where desired, enable Contacts, Calendars, Reminders, and Notes.
-
Select Save.
Check iPhone sync
- Open Apple Mail, then choose the Ration or Exchange mailbox.
- Send yourself a test email and confirm that it arrives.
- If Contacts or Calendars were enabled, open those apps and confirm that Ration data appears.
Change what syncs later
| Device | Where to change sync switches |
|---|---|
| Android | Settings → Accounts & sync → Ration account |
| iPhone | Settings → Apps → Mail → Mail Accounts → Ration account |
Turn on only the categories you want to keep on that device. Removing the account from the phone stops future sync but does not delete your Ration data. On iPhone, Mail Days to Sync controls how much older mail is kept locally; increase it if you need more history on the device.
Two-factor authentication
If your account uses 2FA, complete the TOTP prompt with the current code from your authenticator app. The code is for the interactive phone sign-in; it is not the password for a manually configured IMAP, POP3, or SMTP client.
See Sign in with 2FA if you need help with an authenticator or recovery code.
Troubleshooting
| Problem | What to do |
|---|---|
| Sign-in fails or says the password is incorrect | Re-enter the password carefully. Confirm it works in the Ration web app, then reset it if necessary. |
| You cannot find Exchange | Look for Microsoft Exchange or Exchange ActiveSync. On Android, use Gmail’s Add account → Exchange and Office 365 option if available. |
| The account was added but no mail appears | Wait a few minutes for the initial sync, check the internet connection, then refresh the inbox. |
| Only recent mail appears | Open the device's account settings and increase the mail-sync period. |
| Contacts or calendar do not appear | Open the account’s sync settings and ensure Contacts and Calendars are enabled. |
| The phone asks for a server address | Go back and choose automatic Sign In. If manual setup is required, use https://mail.ration.works/Microsoft-Server-ActiveSync, or use the server supplied by your on-premises/MSP administrator. |
When contacting support, send your email address, device type, operating-system version, client/app name, and an error screenshot. Never send a password, application-specific password, backup code, or TOTP code.